Start Experimenting
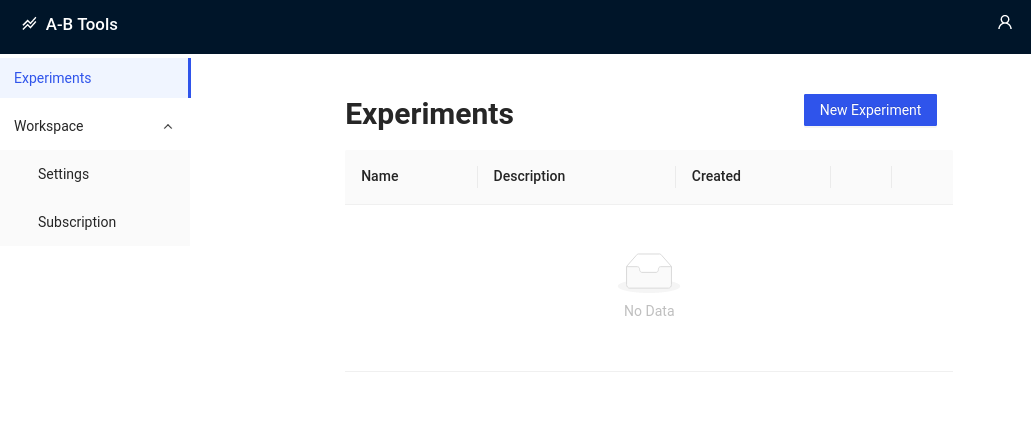
After having set-up your workspace you're ready to create your first experiment by selecting "Experiments" from the left hand navigation panel.
Create New Experiment
To create a new experiment select the "New Experiment" Button in the Experiments overview panel.

Configuring your Experiment
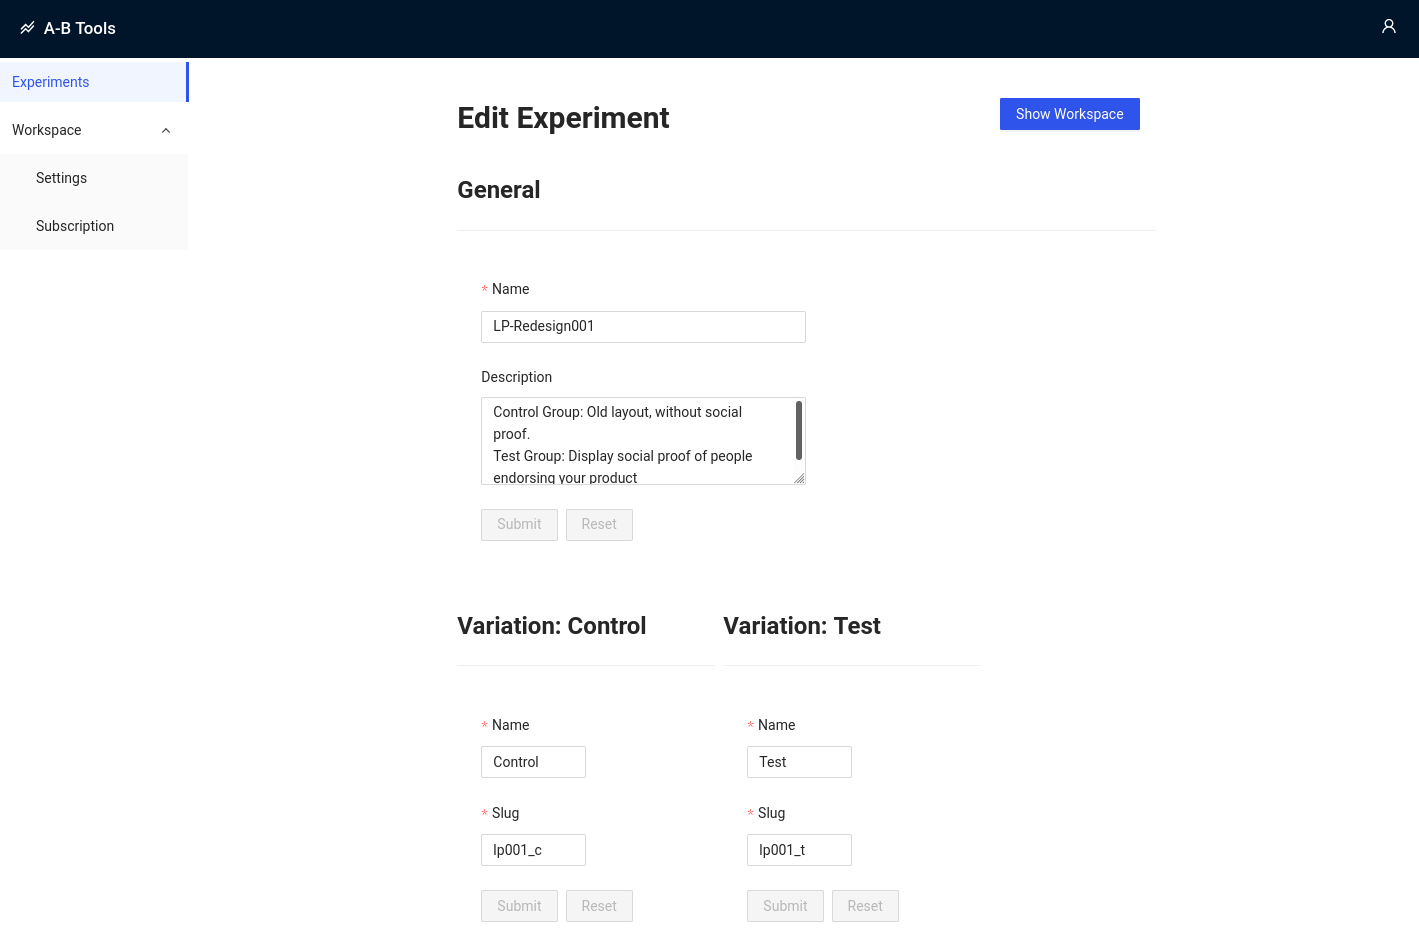
In keeping with the terminology used in scientific trials, each experiment comprises two groups (called variations), referred to as the control and test group (also known as treatment group). While the control group will be exposed to the unmodified version of your application, the test group gets to see an updated version of your app.
Establish a Naming Convention
As with your workspace setup, all form fields can still be changed at a later time but it's usually a good idea to give your experiments a meaningful name and description. Providing a good description will make it easier for you to remember what feature specifically you were testing so make sure to include a description about the changes you want to test.
caution
While you can change your variations' slugs at any time, please be aware that this will also change the tracking endpoints for your experiments. You will thus need to ensure all references to your experiments' endpoints reflect that change!
Variation Slug
Since your experiment's tracking endpoints will reference this, you may want to consider changing this to something more meaningful than a random string. It is usually helpful to establish a naming convention for your slugs that you carry across experiments. You could for example adopt a pattern that gives you an indication of what feature you're running the experiment for and add appropriate suffixes to mark your control and test groups.
For example: Your first experiment on your landing page, could thus be referenced by a string such as lp001 while the control and treatment groups are marked by the suffixes _c and _t. The final slugs for your landing page experiment would thus become lp001_c and lp001_t for the control and treatment group, respectively.

Tracking Endpoints
After completing the experiment's configuration it is now ready for data-collection. All that is left to do now is calling it's tracking endpoints.
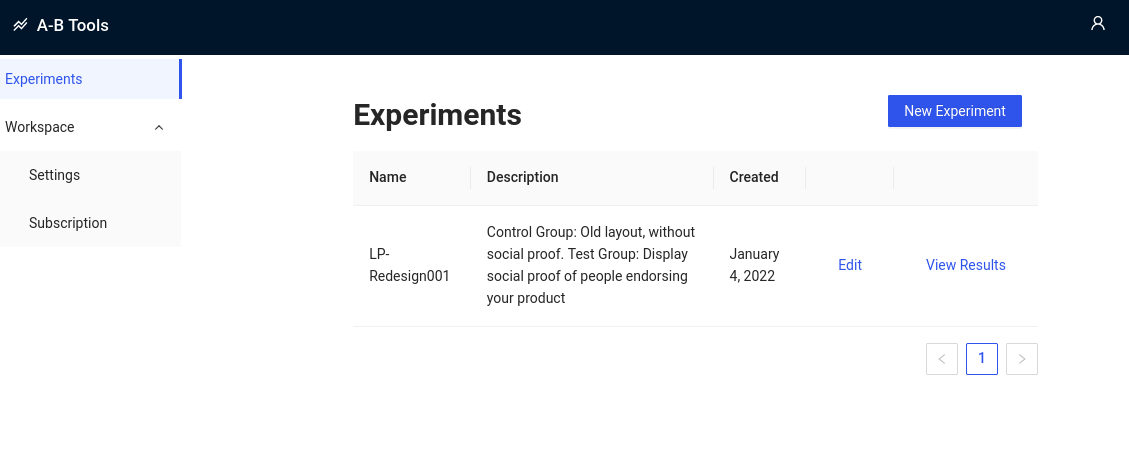
To see you're experiment's data-collection endpoints, navigate back to the Experiments Overview panel. Here you should
now be able to see your freshly-minted experiment.Select "View Results" to open your experiment.

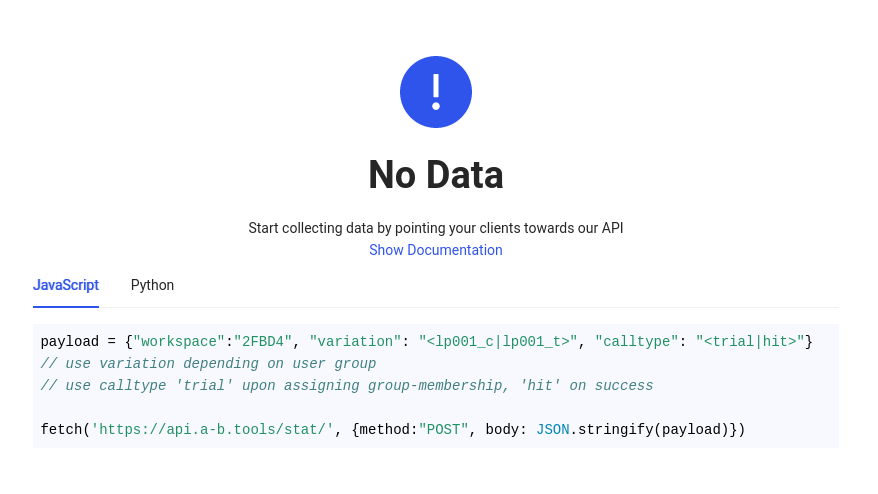
Since you have not collected any data yet, you will be greeted by the "No Data" screen

The code snippet contains all the relevant tracking-information you need and upon closer inspection you will realize the payload is referencing your previously defined workspace slug as well as the variation slugs. Further, the the payload references the type of interaction that you want to track, e.g. each POST request you make needs to have a calltype that is either is of type hit or trial.
- Trial: Use this call to indicate a user first enters the experiment and is assigned to a group
- Hit: Marks a successful outcome of your experiment. Depending on your goal, this could be a click, a newsletter-signup or a purchase
Calling the API then is simply an excersise of sending a POST request with the appropriate payload to
https://api.a-b.tools/stat/
note
To reset the collected data of a experiment select Edit in the Experiments Overview Panel. Expand the section Danger Zone at the bottom of the page and select Reset Collected Data navigate
Integrating A-B Tools into your App
As a final step, you now to incorporate these tracking calls into your app, which is achieved by your client firing off a POST request at the appropriate events. Since you need to make sure you're sending the correct payload, the code snippet below show you the four types of payloads you'd need to place into your code.
- JavaScript
- Python
// Variation Control - Trial
payload = {"workspace":"2FBD4", "variation": "lp001_c", "calltype": "trial"}
// Variation Control - Hit
payload = {"workspace":"2FBD4", "variation": "lp001_c", "calltype": "hit"}
// Variation Test - Trial
payload = {"workspace":"2FBD4", "variation": "lp001_t", "calltype": "trial"}
// Variation Test - Hit
payload = {"workspace":"2FBD4", "variation": "lp001_t", "calltype": "hit"}

// Make sure to select the appropriate payload in each situation!
fetch('https://api.a-b.tools/stat/', {method:"POST", body: JSON.stringify(payload)})
# Variation Control - Trial
payload = {"workspace":"2FBD4", "variation": "lp001_c", "calltype": "trial"}
# Variation Control - Hit
payload = {"workspace":"2FBD4", "variation": "lp001_c", "calltype": "hit"}
# Variation Test - Trial
payload = {"workspace":"2FBD4", "variation": "lp001_t", "calltype": "trial"}
# Variation Test - Hit
payload = {"workspace":"2FBD4", "variation": "lp001_t", "calltype": "hit"}

import requests
# Make sure to select the appropriate payload in each situation!
requests.post('https://api.a-b.tools/api/v1/', data=payload)
In order get accurate results and make efficient use of your user-base, make sure you follow our Testing-Guidelines when setting up your experiment. Most importantly you should:
- Assign users randomly, i.e. group membership must not be conditional of other events
- Only assign users to a group once they have been exposed to the portion of your app you want to test
- Memorize a users group membership so the experience stays during subsequent visits
Example
Scenario
You are running an online store that has a landing page, a product detail page and a checkout page. Users may arrive at
the product detail page either via the landing page or directly through a search engine. Now you want to test whether a
new landing page will lead to more customers making a purchase.
Test Setup
A new user visits your landing page and is randomly assigned to the test group, i.e. she get's to see an updated
version of your landing page
👉 Upon group-assignment memorize their group membership and POST a trial event
The user then proceeds to the product detail page and decides to make a purchase
👉 As soon as the user confirms her purchase POST a hit event
Another user arrives at your product detail page, without visiting the landing page first
❌ Do not assign this user to any group and do not POST a trial event
The user then decides to make a purchase
❌ Do not POST a hit event